This is the fourth of the examples on how to create an action list in PitStop. Here we are going to create a list that will convert a whole PDF to two process inks with the images as cyan and black duotones and the rest in black. We will do it by embedding a smaller list (created earlier as example number 3).
The main aim of this example is to show how by creating modular lists and embedding them into each other, like little Lego pieces, we can streamline and standardize PitStop's document transformation and review procedures with action lists.
Warning: Once more we will not explain details already discussed while creating the previous examples. So, if anything here is not clear enough, please refer back to them.
Creating the list, step by step
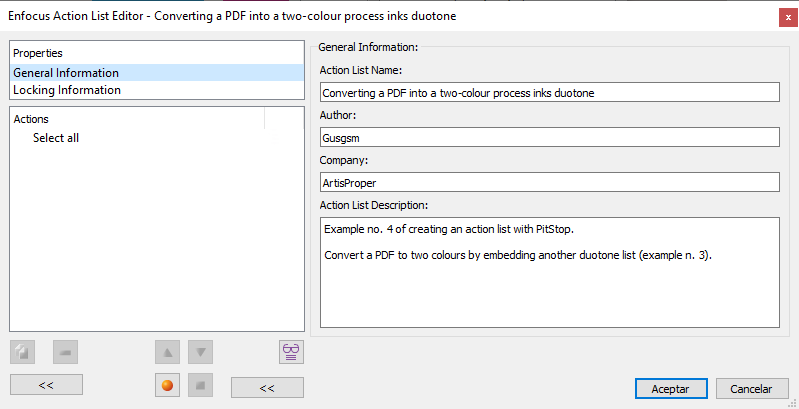
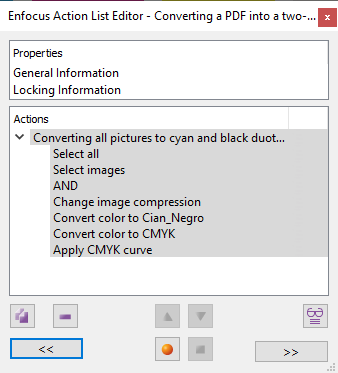
We start as usual by creating an action from scratch, with an open PDF (so we can see the result of what we do). We give it a meaningful name and we add the necessary identification data. The sequence included will be:
-
Embed the already created list "Convert all pictures to duotone (Black and Cyan)".
-
Group its commands and give to this area a name.
-
Select everything other than images.
-
Convert the colour to Process Black C spot ink.
-
Apply a curve that sets everything equal to or greater than 20% of that ink to 100%.
-
Convert the colour of those non-image elements to CMYK "
0/0/0/100".
This fourth action, which is more complex than the previous one, is much easier to create thanks to the use of embedding, which avoids useless duplicated work. Let's see how we create it and why we include some commands.
Embedding a previously created list
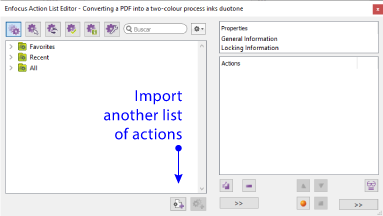
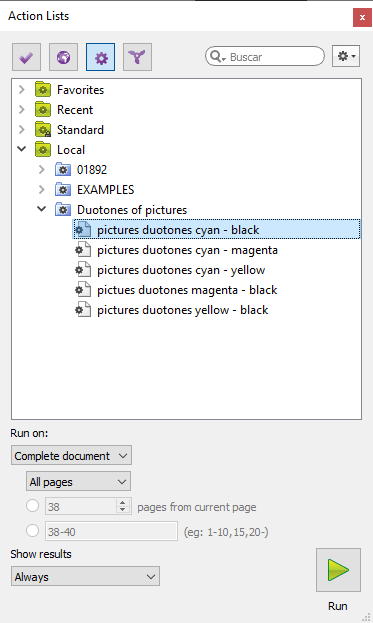
We have already created a list that modifies the images the same way we want to do now. What we will do is to import it into the new list by clicking on the "Import action list" icon.
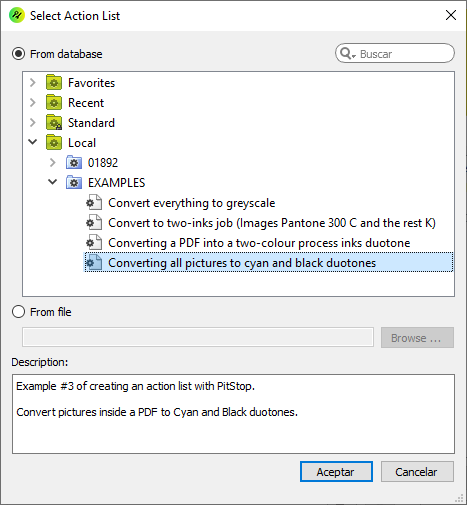
The window of the actions available on that computer will open. We search for the list we are interested in and click "OK". If we have worked previously in an orderly fashion, always documenting what each list does, locating the one we are interested in should be very easy.
Grouping a sequence of orders
The list of actions has been incorporated in its entirety, as a group of actions with its own name.
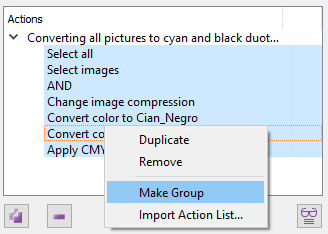
To create or modify a group of actions like this, we select with the cursor all the actions to be grouped and we right-click on "Make group" option.
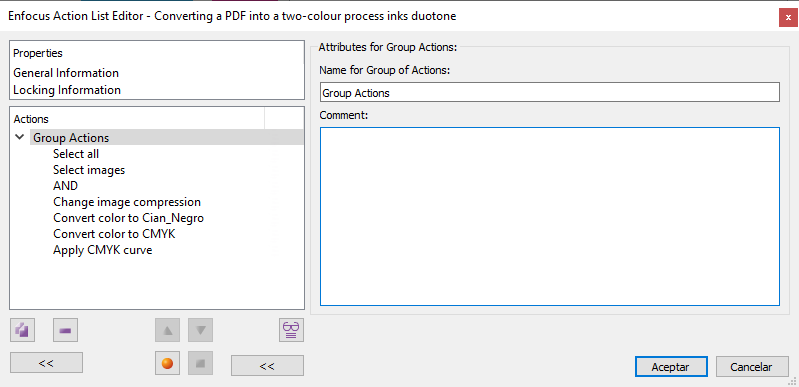
Any new group of actions, is called by default, "Group Actions". To change this name, we select the name line and change it to something meaningful (such as "Change pictures to cyan and black duotones").
In this case, it is not necessary because, as we said, the group is named after the imported action. If we want, we can simply modify it.
Warning: This grouping and renaming step is not necessary, but it makes it much easier to build complex lists, as it facilitates the handling of command blocks (although care must be taken not to overdo it and end up creating Russian dolls).
Select everything other than images
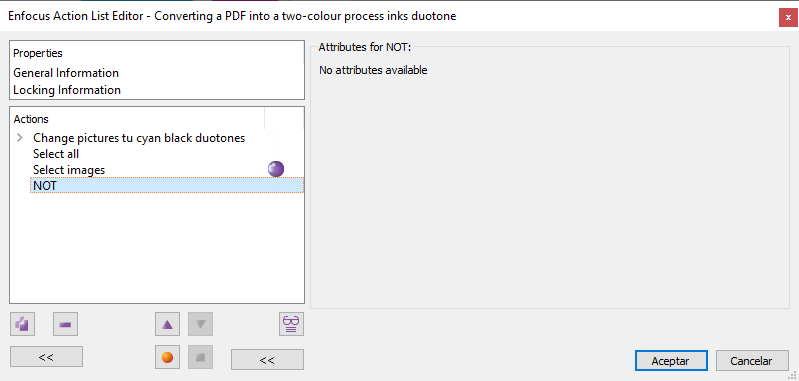
We are done with the pictures and now we are going to change other elements. So we have to make a new selection that includes everything that is not images. The way to select this is the sequence:
Which means: "Select everything and, from that, what is not images".
Converting the colour to Process Black C spot colour
As with many programmes, in PitStop there is often more than one way of doing things. In this case, we want to convert everything selected to "CMYK: 0/0/0/100". One of the easiest ways is to convert it to a spot colour that has as its alternative colour space precisely "CMYK: 0/0/0/100" (as we can see, this is the same conversion trick we applied in example #3).

We do this with the command "Convert colour to: Spot colour".
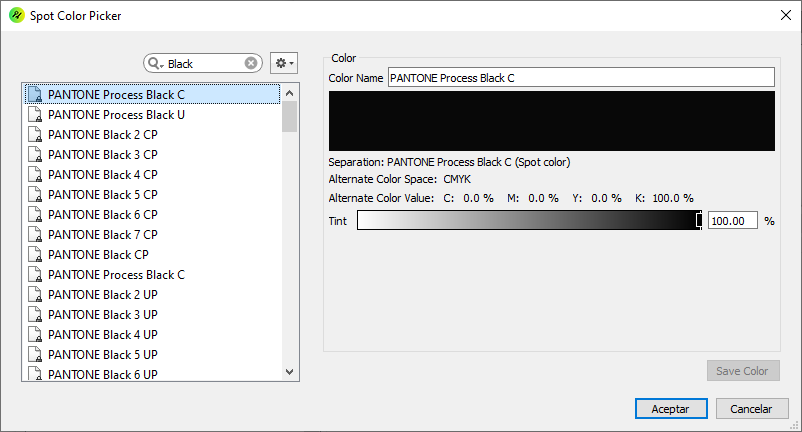
There we "Load" the colour "PANTONE Process Black C", which is in the default colour database of PitStop, accessed via the "Colour Picker".
If you know the name or part of the name of a colour, the easiest way to get it is to type it in the search window of the "Colour Picker".
Una vez que hayamos incluido esta orden, los colores de todo lo que no sean imágenes se convertirán a esa tinta directa.
Applying a curve to darken everything equal to or greater than 20%.
The problem with the above conversion is that many of the elements will have been converted to an equivalent colorimetric percentage, which will not be black but some unfortunate greyish shade of less than 100%.
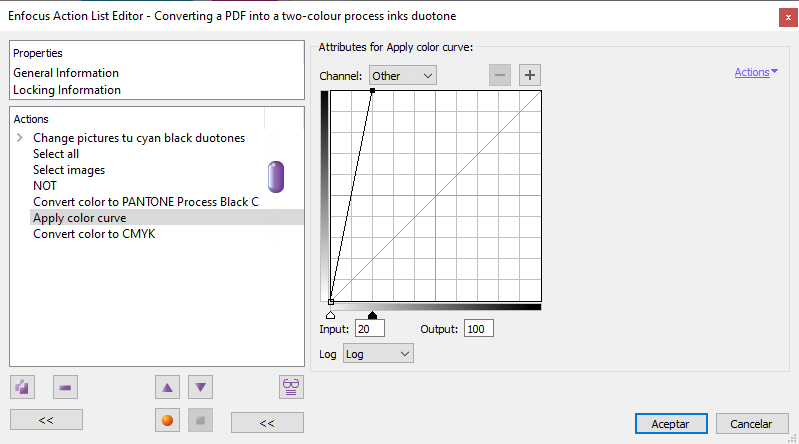
The simplest solution in this case is to add the command "Apply colour curve" and to set the PANTONE Process Black C channel curve to "20% = 100%", which means "Anything that is 20% or more, we bump it up to 100%".
Converting colour from Process Black C to CMYK 0/0/0/100

To finish (we have everything other than images still selected), we apply again the command "Convert colour: To CMYK" ("Fill" and "Stroke").
As the Process Black spot colour has as an alternate colour space the values "CMYK: 0/0/0/100", everything selected is converted to that value (in their proportional amounts).
Conclusion
We save the list by pressing the "OK" button and test it with the document we have open.
If we are satisfied with the results, we have finished our list of actions.
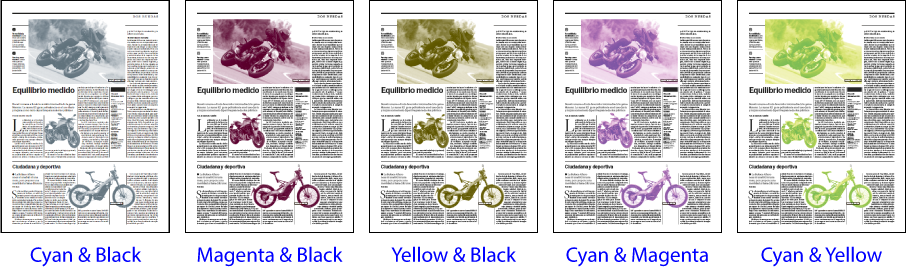
If one type of jobs is common in a workflow, having ready-made groups of mini action lists and custom colour libraries will make it much easier to prepare variants of action lists of that type, as we see in the images above.
[© Gustavo Sánchez Muñoz, 2026] Gustavo Sánchez Muñoz (also identified as Gusgsm) is the author of the content of this page. Its graphic and written content can be shared, copied and redistributed in whole or in part without the express permission of its author with the only condition that it cannot be used for directly commercial purposes (that is: It cannot be resold, but it can form part as reasonable quotations in commercial works) and the legal terms of any derivative works must be the same as those expressed in this statement. The citation of the source with reference to this site and its author is not mandatory, although it is always appreciated.