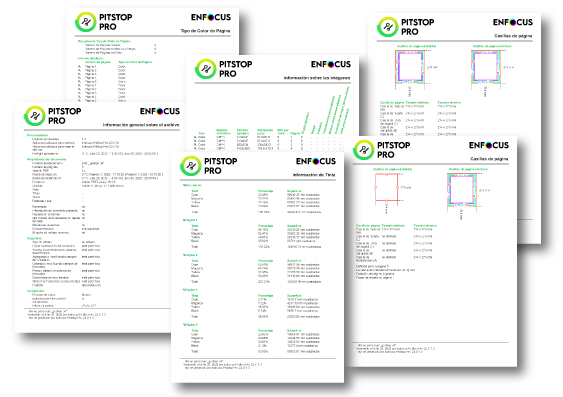
PitStop Pro makes its reports with a default look and feel that reflects the Enfocus brand. But the software allows for very detailed and flexible customisation of the reports. This is explained in a PDF available on the Enfocus website.
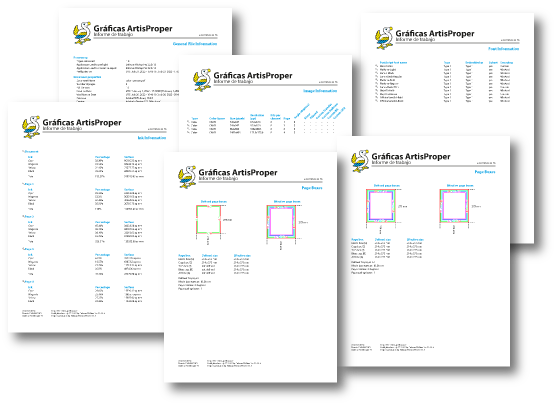
This page is a short tutorial on how to make a generic custom report (for a non existent graphic arts firm called "ArtisProper"). The aim is to get us started in customizing the reports that a company needs.
1. How reports are created

When we run an action list or a preflight profile, the PitStop "Navigator" will usually open (if we have not changed it). There, in the top right corner, under "Actions", there is the option "Show report".
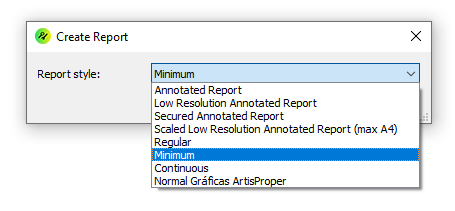
If we click on it, PitStop allows us to choose the kind of report that will be created (tha is, more or less detailed). A list of report types available on that computer is displayed in the "Report Style" dialog box. When we have progressed through this tutorial, the new report templates should become available in that list for selection (as seen in this screenshot)…
2. Creating the custom reports folders and copying the files there
In order to be able to use them, custom templates must be in specific folders and have a specific format. To create our own templates, the easiest way is to duplicate an existing template and modify it.
So the first thing we need to do is to locate or create the folders in which PitStop will find these custom templates and place there the copies of the default reports we want to start from.
As we are going to create a report based on the so-called "Normal" style, what we will do is copying the two files corresponding to that style: one containing the preferences that the programme will use to create the content ("PitStopReportDefault.prefs") and the second, a PDF file that will serve as a page template on which the content will be built ("PitStopReportDefault.pdf").
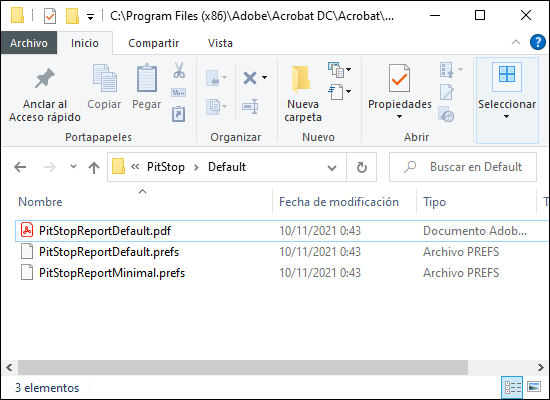
In Windows 10, the original files are located in "[drive]:Program Files (x86)\AdobeAcrobat DC\AdobeAcrobatPlug_insfocus\PitStop Pro Resources\Report Templates\PitStop\Default".
We copy them ("Ctrl+C") and go to "[drive]:All Users Prefs Folder Report Templates Templates Custom". There we copy both files ("Ctrl+V"). If the "Report Templates" or "Custom" folders do not exist, we create them.
The document "PitStopReportDefault.prefs" is, as we have said, a plain text document containing the preferences that PitStop will use to create the content. It specifies the paths of the documents used as templates, the names under which they should appear in the menu, the body and font with which the report should be described, the font colours, the margins, etc.
In some sections, the information can be differentiated depending on the language of the system, but here we will not go into such details.
3. Renaming the report in the PitStop Pro menu
We open the mentioned new "PitStopReportDefault.prefs" file with a plain text editor (the notepad, for example). There we for the section "PitStopReport". There we simply change the texts of the sections "ReportLayoutName" (the name in general) and "ReportLayoutNameesES" (which is the name in Spanish) for "Normal Gráficas ArtisProper" (or whatever language we may need. Look for the appropriate language code).
4. Changing the name and path of template files

This is not mandatory, but as it is a good idea that different documents have different names. So, we will rename the PDF and preferences from "PitStopReportDefault.prefs" and "PitStopReportDefault.pdf" to "normal_artisproper.prefs" and "normal_artisproper.pdf".
In the preferences document, we go to the "PitStopReportPDFTemplates" section and we specify which PDF should be used as template in the "IconTemplatesPath", "PageTemplatePath" and "FontTemplatesPath" sections. In all of them, we set "normal_artisproper.pdf".
5. Specifying icons and fonts used in reports
If we take a look at the "PitStopReportPDFTemplates" section, we will see that there is text like "FailureBigIconPage" "11". This tells PitStop that if it needs to use an icon for a critical failure, it should use the icon on page 11 of that PDF template (there should only be one icon per page).
Following this logic, it is easy to deduce that sections such as "FixSmallIconPage" "4" indicates that the small icon for specifying fixes is on page 4 or that the fonts used are on page 12 ("FontTemplatesPage" "12") and that they are in this PDF ("FontTemplatesPath" "normal_artisproper.pdf").
6. Changing the PDF template
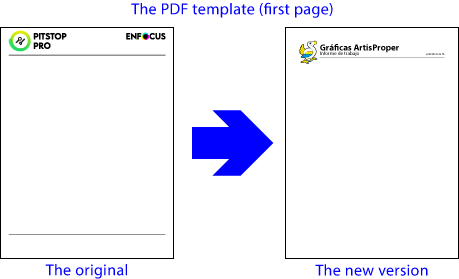
The PDF serves as a template with the company's brand image, so we will change it with Adobe Illustrator or whatever software we deem fit. From now on, the reports will have the new look.
7. Cambiar los márgenes
In the preferences file, we will see a block starting with "PitStopReportBody". The top margin (which may interfere with the corporate header) is changed by altering the value of the "AreaTopY" section. The higher the value, the bigger the margin. It is measured in points.
The easiest way to get the right look in this respect is to modify the values little by little and create reports until the margins look the way we want them to look.
There is no need to worry about space or pages, PitStop will generate as many pages as needed to cover the sections we have included in the report.
This section also defines the font ("FontName") and the body ("FontSize") of the general text of the report (Helvetica of body 10), in case we would like to change them.
8. Changing the colour of fonts
If we want to change the colour of an element, we only have to look for labels containing the word "Color" and change the colour values. In this type of report, these values are specified in CMYK; for example: red is "0 100 100 0".
9. Exporting templates
Once the templates for the new report types have been created, they can be installed on any other computer. The only rule is to install them in the folders where PiStop can identify them as templates, as explained above.
Conclusion
There are more modifiable values, but if you have got this far, you can see that by changing a few details the reports will have your company's image brand, and if you want to change more, you are already on track.
[© Gustavo Sánchez Muñoz, 2026] Gustavo Sánchez Muñoz (also identified as Gusgsm) is the author of the content of this page. Its graphic and written content can be shared, copied and redistributed in whole or in part without the express permission of its author with the only condition that it cannot be used for directly commercial purposes (that is: It cannot be resold, but it can form part as reasonable quotations in commercial works) and the legal terms of any derivative works must be the same as those expressed in this statement. The citation of the source with reference to this site and its author is not mandatory, although it is always appreciated.