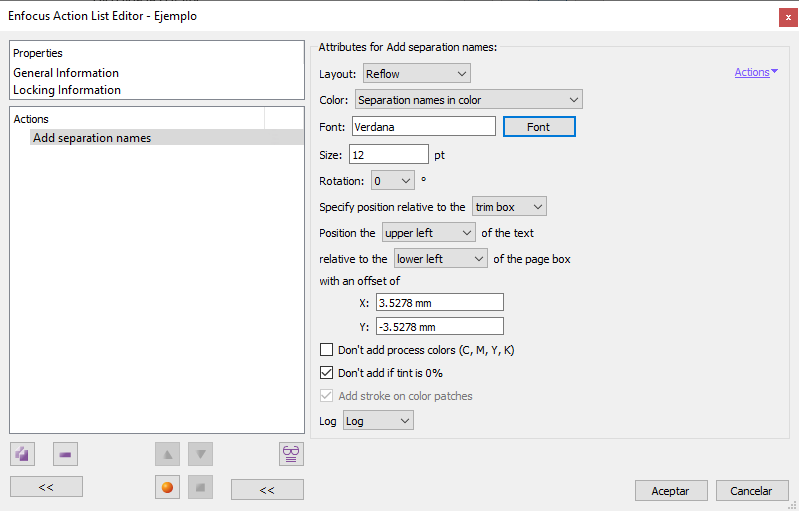
This Enfocus PitStop command allows us to add the names of the existing separations in the selected document or page.

The options are many:
Cómo se colocan
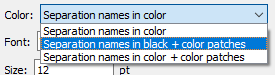
The "Colour" option allows us to choose three styles of indicating existing separations:

"Separation names in color": Only the names of the separations are displayed (in 100% of the colour of the ink they define).

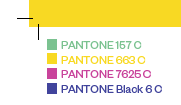
"Separation names in black + colour patches": The names of the separations are displayed in 100% black preceded by a square patch with 100% of the colour of the ink they define.

"Separation names in colour + colour patches": the names of the separations are displayed in 100% of the colour of the ink they define, preceded by a square patch with 100% of the colour of that ink.
In addition, if we choose to put patches, a little further down, the checkbox "Add stroke on colour patches" allows us to put a black outline around the patches.
The "Font" (which uses the "Font picker") and "Size" options allow us to select the font and size of the text describing the separations.
The "Layout" option allows you to choose how to place these elements. There are three possibilities:

"Reflow": The names of the separations are placed in the same line, in a row (if we try to place the list in a position where it does not fit completely, PitStop changes the placement to the "Stack" layout).
"Stack": The names of separations and patches are placed as a list, one on top of the other.

"On same location": The names of the separations and patches are placed exactly the same place, one on top of the other (this workflow can be interesting if we are going to prepare lithographic films, for example).
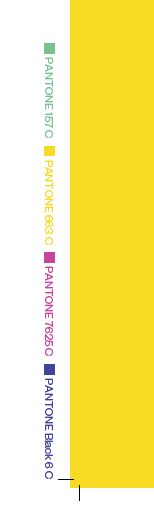
The "Rotation" option allows us to rotate all elements in four angles, to place them in the most suitable way ("90º" and "270º" are the most suitable for the sides).
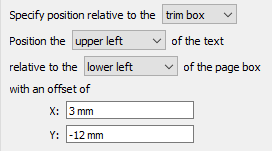
Where they are located
The command allows us to specify in great detail where to place data about the separations. This placement is done with respect to one of the five page boxes. It should be remembered that this placement is done using the page geometry system of a PDF (which always starts at the bottom left corner and progresses to the top right corner).
Warning: If we choose the value "with an offset of", you will be making room for the texts. If we have chosen the option to place them in the form of a "Stack", we must leave enough space if we want to place them under the printable areas, otherwise they could invade them.
Which ones to place
The command will place the names of all the colour separations that exist in the document, even if they do not contain any object that paints when printing; it will be enough for an ink that needs a separation to be defined for it to be reflected.
If we do not want this to happen, and we only want the separations that actually intervene in the printing of the document to appear, we must check the box "Don't add if tint is 0%".
If we do not want any of the four-colour separations to be reflected, we must tick the box "Don't add process colours (C, M, Y, K)".
Warning: If we have already checked "Do not add if tint is 0%", these separations will not appear if they are not involved in the printing of the final pages. So, it might seem that in a document with only spot colours both options are the same. This is not the case if there are elements defined in registration colour.
[© Gustavo Sánchez Muñoz, 2025] Gustavo Sánchez Muñoz (also identified as Gusgsm) is the author of the content of this page. Its graphic and written content can be shared, copied and redistributed in whole or in part without the express permission of its author with the only condition that it cannot be used for directly commercial purposes (that is: It cannot be resold, but it can form part as reasonable quotations in commercial works) and the legal terms of any derivative works must be the same as those expressed in this statement. The citation of the source with reference to this site and its author is not mandatory, although it is always appreciated.