This Enfocus PitStop command allows us to add a sequential numbering to each page of a multi-page document or just to a series of pages chosen by the user. The idea is to use expressions such as "6 page of 64", for example.
Warnings: When using this command in an action list, we must have selected the text that we want to use as page number with the PitStop Inspector selection tool ![]() , so we must create it first.
, so we must create it first.
The numbering is placed as it was positioned when it was captured. If it was rotated or placed vertically, that is how it will be used. The same applies to its format, font, body, kerning, etc. It can be just a number or a few words (without overdoing it).
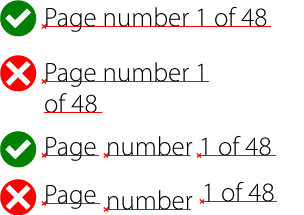
The characters do not need to be joined, but the sequence must form a reasonably straight line (that is, no curves or paragraphs or line breaks).

The sequence cannot include graphics. Only text is allowed.
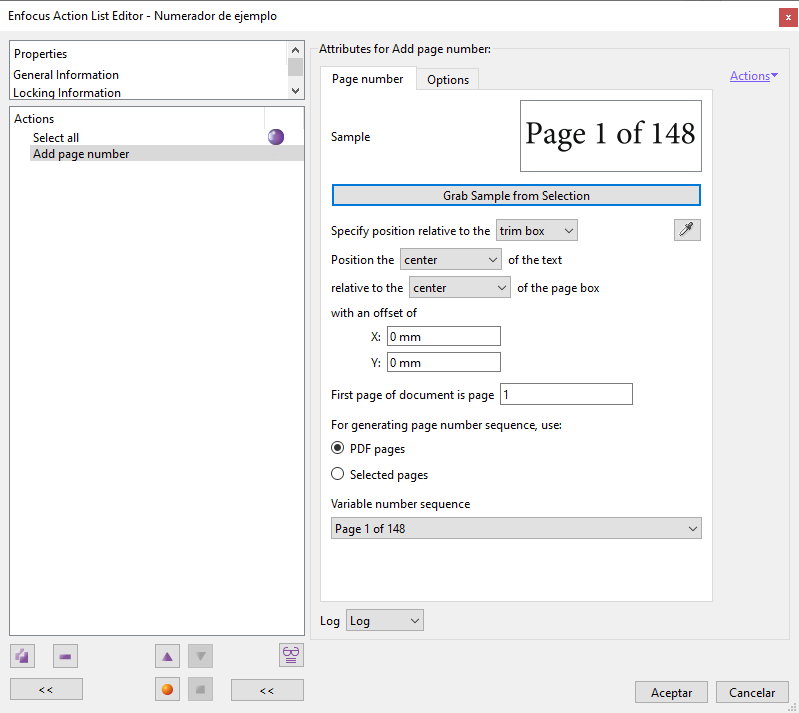
Setting the page number
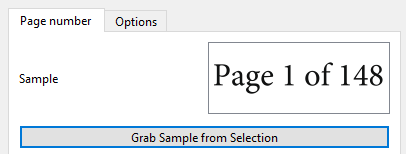
"Sample": Here we define and preview the text we have selected as a basis for page numbering. If PitStop admits what we have selected, we will see enabled the "Grab sample from selection" button. If we click on it, the white window will show the text that will be used as a base for the numbering.
Warning: Just because we see a text in that window and the "Grab sample from selection" button active , that does not mean that PitStop will use what we have selected at that moment. That is, it may be a previously grabbed sample. So, we should always press the button to be sure when building a list of actions. So, what is then displayed in the white box is what will be used.
Where and how to place it
Next comes the options of where and how to place the numbering on each page:
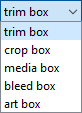
"Specify position relative to the…": Here we can choose which of the five page boxes will be used as for placement reference. Then, we have two placement parameters that act together: The location point of the text relative to itself:
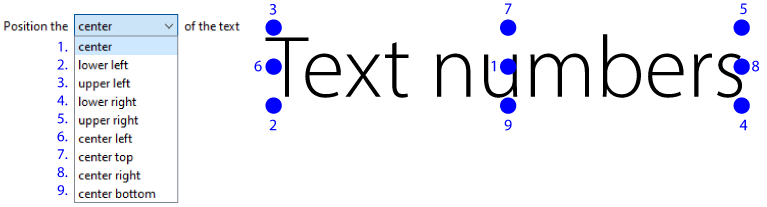
And then, the location point of that, relative to the page box. The two are combined in a sentence that could be read as: "Place the [...] of the text relative to the [...] of the page box":
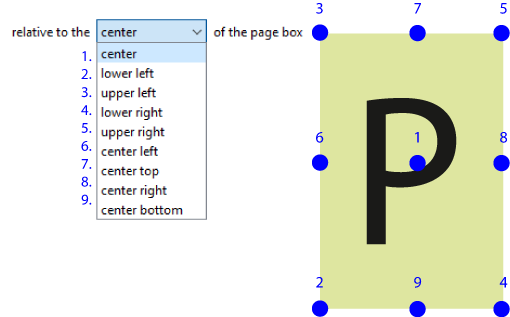
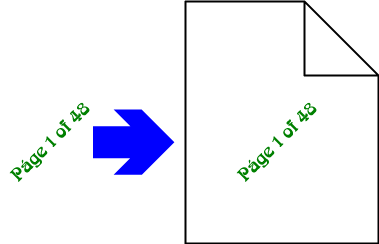
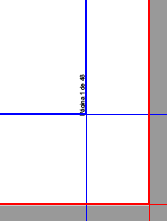
So, for example, if we want to place the text in the top left area of each page, inside the material box but not stepping into the boxes further inside (bleed and trim), we would ask "Specify position relative to the MediaBox, position the bottom left of the text [2] relative to the top left [3] of the page box".
The location would be as shown in the image above.
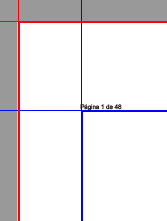
If we want to place a vertical numbering in the bottom left corner of each printed page, we should ask "Specify position relative to the TrimBox, position the bottom right of the text [4] relative to the bottom right of the text [4] of the page box". The result will be the one in the image above.
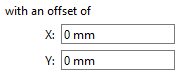
"With an offset of…": With this option we can tweak the position of the text. Any negative value moves it to the left or down. Any positive value moves it to the right or upwards (as is always the case with the coordinates of placement in PDF format).
Numbering sequences
In the next area there are all the options that control the automatic numbering of this command:
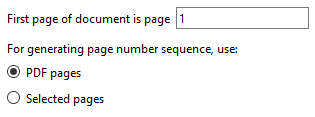
"First page of the document is page…": Here we can tell PitStop which page number it must use as the first digits of the numbering sequence; for example: "122".
The next option allows us to choose "(All) PDF lages" or only those that are "Selected" at the time of execution.
Warning: The "Selected pages" option applies the sequence without taking into account any skipped page; for example if only even pages are selected, the fourth page will be numbered as "2", the sixth page as "3", and so on.
"Variable number sequence": In this area we can apply the variable %pagenr% to the numbers in the selected text, which converts the digits it replaces into a sequential number. We can choose between three options:
- Text is used as is, no variable is used. It is placed exactly the same on all affected pages.
"
%pagenr% of xxxx": The first digits in the sample are replaced by a variable with incremental values (1, 2, 3... etc.) starting with the number specified in "The first page of the document is page…".This option is suitable for numbering a multipage PDF with something like "
Page number 3 of 34"."
xxxx of %pagenr%": This option will treat only the second digits it finds as an incremental variable.This option is suitable for incremental numbering of a PDF where all pages are the same (e.g. tickets) or when we want to leave the first numbers untouched.
It is not possible to treat at the same time both sets of digits as variables and no more than two groups of numbers are taken into account.
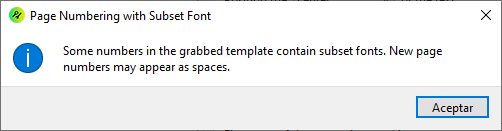
Warning: This automatic numbering can have problems if the programme does not find all the necessary numbers. This does not always happen, even if we are shown the message above. One solution to avoid this is to include all the digits tin the "Sample" text, i.e. instead of using something like "Page 1 of this book" as the sample, we use "Page 0123456789 of this book".
Options

In this tab there are three general options:
"Remove any overlapping text": This option removes any text below the numbering. The entire line is deleted, if the line is broken into characters, only the affected characters or words are deleted.
"Only number pages that already have a number": The command is only executed on those pages that already have a number added with it before, e.g.: If nothing was placed on page 3, a new run will leave it untouched if this box is ticked.
"Add white background": A white background box is placed just below the numbering. This is useful in cases where there are things that may hinder readability. The size of the box is not modifiable and it just covers the text.
[© Gustavo Sánchez Muñoz, 2026] Gustavo Sánchez Muñoz (also identified as Gusgsm) is the author of the content of this page. Its graphic and written content can be shared, copied and redistributed in whole or in part without the express permission of its author with the only condition that it cannot be used for directly commercial purposes (that is: It cannot be resold, but it can form part as reasonable quotations in commercial works) and the legal terms of any derivative works must be the same as those expressed in this statement. The citation of the source with reference to this site and its author is not mandatory, although it is always appreciated.