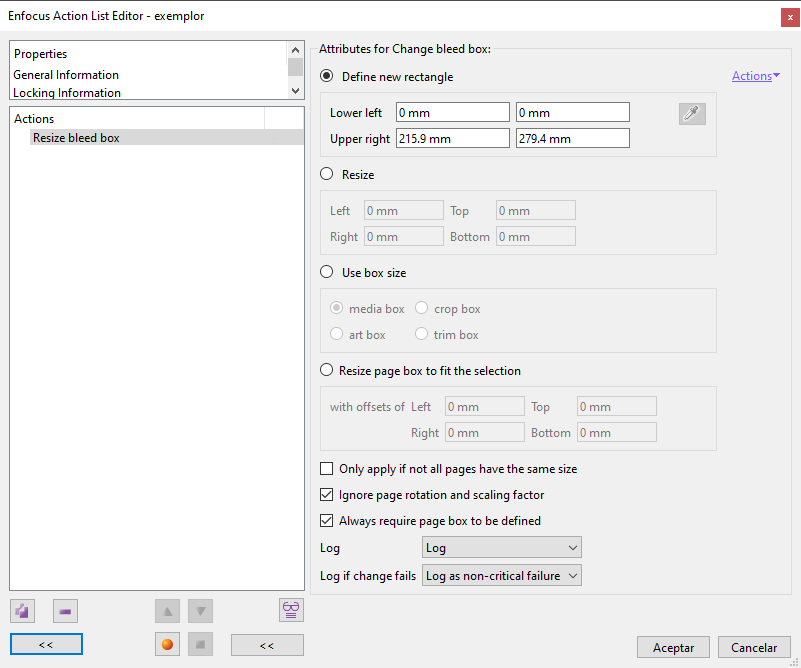
This Enfocus PitStop command allows us to resize the BleedBox of selected pages. If no page is selected, the command will affect all pages within its reach.
We must remember that the BleedBox defines the size of the printed page before it is trimmed by the guillotine. It is not the size of the finished product.
The command has four main mutually exclusive criteria:
Define new rectangle
This option allows us to define a new clipping box by specifying two pairs of coordinates: the lower left corner and the upper right corner (the horizontal value is always the first of the two).
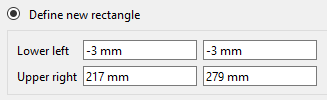
For example: If we have a page of 214 × 273 mm and we need to change its size by giving it 3 mm. more on all sides (so that it has a size of 220 × 279 mm, bleed included ), we must enter the values we see above of "Lower left: -3 mm / -3 mm" and "Upper right: 217 mm / 276 mm".
Warning: This location will depend on where the "0,0" coordinate is placed in the document, as it is relative to it.
The eyedropper
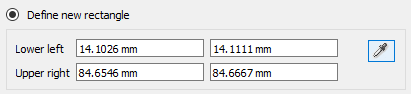
In the right area of this option there is the icon of an eyedropper. This icon is deactivated unless, while we are defining the action, we have an object selected with the PitStop inspector. In that case, the eyedropper is activated. If we click on it, the exact position coordinates of the selected object will be copied.
This allows us to copy the coordinates of specific objects while creating an action (we don't need to quit the action list editor dialog box to perform a manual selection with the inspector).
Resize
This option allows us to add or subtract amounts on all four sides. These are absolute values, not relative ones. That is: It is not a displacement of coordinates as in the case above, but a sum of values.

For example: if we want the BleedBox to have 3 mm more on the left, we do not write "-3 mm" (as we would do if thise were coordinates), but we simply write "3 mm" so that this adds up on the left.
If we enter a negative value ("-3 mm"), PitStop will subtract that amount from the BleedBox in the corresponding side.
Use box size
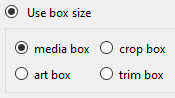
By using this option we just ask PitStop to match the size of the BleedBox to the size of one of the other four available boxes.
Resize page box to fit the selection
This option requires a previous selection. Once made, PitStop will adjust the CropBox so that the rectangle that forms the BleedBox encompasses what is selected. Otherwise, this option behaves in the same way as the "Resize" one.
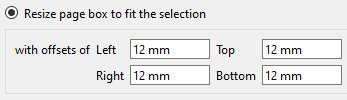
We can add or subtract space by indicating it in the boxes provided. These are absolute amounts, not relative ones. That is: It is not a displacement of coordinates, but an addition or subtraction of values.
Also...
There are two options more that are not mutually exclusive:
- "
Only apply if not all pages have the same size": Checking this option will make the command apply only if the document has pages of different sizes. - "
Ignore page rotation and scaling factor": Checking this option will make the command disregard any scaling or rotation factors that may be present in the affected pages. This option is not available if we have chosen the option "Resize box" to match the size of another box. - "
Always require page box to be defined": This third option means that "the BleedBox must always be defined". If we activate it and there is any page that does no have it (as it is not a mandatory box), the action will not be executed.
Warning: We must remember that, although the MediaBox should always be the largest box, encompassing all the other boxes, PitStop does not check or enforce this unless we specifically ask it to do so. So, if we are not careful, we may end having an incorrect PDF.
[© Gustavo Sánchez Muñoz, 2026] Gustavo Sánchez Muñoz (also identified as Gusgsm) is the author of the content of this page. Its graphic and written content can be shared, copied and redistributed in whole or in part without the express permission of its author with the only condition that it cannot be used for directly commercial purposes (that is: It cannot be resold, but it can form part as reasonable quotations in commercial works) and the legal terms of any derivative works must be the same as those expressed in this statement. The citation of the source with reference to this site and its author is not mandatory, although it is always appreciated.