Acrobat's colour management is much more limited than that of programmes such as Photoshop or InDesign, and certainly more limited than PitStop's (this page applies only to the full version of Acrobat, not to Acrobat Reader).
Warning: A very important detail is that the colour management in Acrobat behaves as if it had two zones: One is the definition of the colour management itself (the "Preferences"). The other, which we explain at the end of this page, is the "Output Preview" option of the "Print Production" tools. It is very convenient to read this second section because it explains some mistakes that we can make if we do not understand how the "Output Preview" works.
Setting colour management preferences
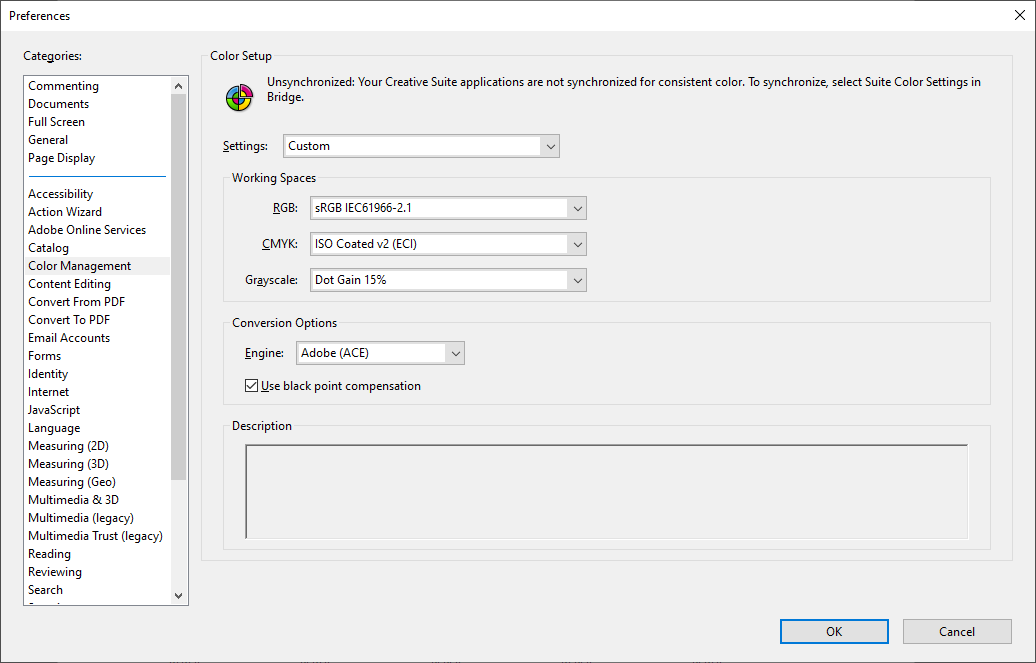
The colour management settings in Acrobat Pro can be accessed under "Edit - Preferences - General - Color management".
There we can set three profiles as "Working Spaces" for three colour modes: RGB, CMYK and Greyscale (other profiles are not recognised). We can only choose profiles that are installed on the system.
These spaces are only the fallback profiles when a colour object does not have its own profile specified.
Besides, we can choose the colour engine (CMM) in charge of colour conversions (normally we leave Adobe's own). The option "Use black point compensation" is selected by default and it is usually recommended to leave it active.
If we choose so, we can use any set of settings available in the system (Acrobat cannot create them, but it can use those created by programmes such as Photoshop).
By doing this, so far, we have only established some general preferences so that the programme, if we have the monitor calibrated, will behave in a reasonably faithful way when displaying colours.
Previewing the output
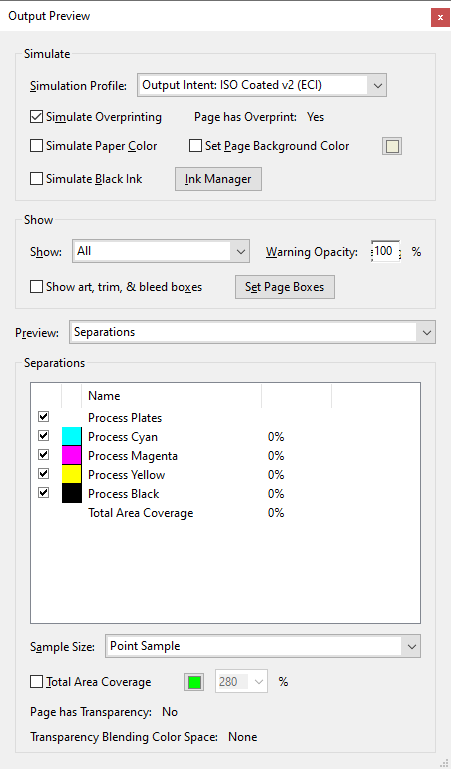
In Acrobat, the options to choose how to display the PDF with different profiles, represent ink black and paper color, are found in "Print Tools - Output Preview" and can be set manually.
Simulating printed output
The seven options in the "Simulate" section are the most relevant ones for colour management purposes. If we want to see how a document will print on a specific printer, paper and inks, this is the area to do it.
Warning: If we do check the values in the "Simulate" area of "Output Preview", even if we have set the preferences explained above, it's quite likely we will not really see how it the PDF print.

"Simulation profile": This option allows us to choose which profile to use to preview what the final printed result will look like. If the PDF is a PDF/X and so has an output intent, in this section the corresponding profile is automatically presented as "Output intent", followed by the name of the profile that has been used as such.
We can choose any profile that is installed in the system (RGB, CMYK or greyscale). The reason for this freedom of choice is that this option is intended to simulate the final appearance (printed or not) of that PDF in any system described by a colour profile (as long as it is installed).

Warning: This is where we find the trouble with some PDFs that are not PDF/X (and therefore do not have output intent). When we open these documents, the profile used in the "Simulation profile" section by default will always be the one set as "Working space" in the colour management preferences (as we have seen above). It will be RGB if the PDF has a general RGB ("Interactive") profile and CMYK if it is CMYK ("For printing"), but it will most likely not match the profile that the document was originally created with (or for).
"Simulate overprinting": This checkbox, when checked on, allows us to preview overprinting. Fortunately, in the most recent versions, it is checked on by default if there is any overprinting in the pages (although it is always a good idea to verify this, just in case).
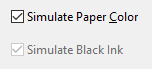
"Simulate paper color" and "Simulate black ink" allow the real simulation of what the printed result will look like (provided that the monitor is properly calibrated and the profile chosen for the simulation is appropriate).
The "Simulate black ink" option is automatically on if "Simulate paper color" is selected).
Note: All of these options are only temporarily active. They work if we open a document and activate them (even if we close the "Output Preview" window). If we close the document or Acrobat, they will be unactive when we open it again and we will have to activate them again.
![]()
"Set Page Background Colour" allows us to set a specific colour for the paper (e.g. a salmon shade), but it is an imprecise and outdated simulation option that predates the use of colour profiles. It is not a good idea to use it.
Note: This "Output Preview" screen contains many more interesting (and little known) options, but as they do not directly affect colour management we will not go into them here.
[© Gustavo Sánchez Muñoz, 2026] Gustavo Sánchez Muñoz (also identified as Gusgsm) is the author of the content of this page. Its graphic and written content can be shared, copied and redistributed in whole or in part without the express permission of its author with the only condition that it cannot be used for directly commercial purposes (that is: It cannot be resold, but it can form part as reasonable quotations in commercial works) and the legal terms of any derivative works must be the same as those expressed in this statement. The citation of the source with reference to this site and its author is not mandatory, although it is always appreciated.